Following the development of radar at Orfordness and at the Bawdsey Research Station in Suffolk during the mid 1930’s, the Air Ministry established a programme of building radar stations around the British coast to provide warning of air attack on Great Britain. A survey was undertaken to assess the suitability of the local terrain for Air Defence Radar operations with the first of these new stations coming on line by the end of 1937. This network formed the basis of a chain of radar stations called CHAIN HOME (CH).
These original five East Coast stations (later extended to 20) were augmented by a new design of ‘West Coast’ stations. The East Coast stations were similar in design to the experimental station set up at Bawdsey in 1936. In their final form these stations were designed to have equipment housed in protected buildings with transmitter aerials suspended from 350' steel towers and receiver aerials mounted on 240' timber towerks.
The West Coast stations differed in layout and relied on dispersal instead of protected buildings for defence. Thus the West Coast stations had two transmitter and receiver blocks with duplicate equipment in each. Transmitter aerials were mounted on 325' guyed steel masts with the receiver aerial mounted on 240' timber towers.
The majority of Chain Home stations were also provided with reserve equipment, either buried or remote. Buried reserves consisted of underground transmitter and receiver blocks, each with three entrance hatches (two for plant and one for personnel) set on steel rollers. Nearby were the emergency exit hatch, ventilation shafts and 120' wooden tower carrying the aerials. On some stations the transmitter and receiver buried reserves were together on an adjoining site (often the next field).At others the two buried reserves were separate but located close to their respective above ground building. Many of the West Coast stations had remote reserves some distance from the main station but utilising similar above ground transmitter and receiver blocks.
Most stations were powered from the National Grid but they were also provided with generators to cover interruptions in the mains electricity supply. These were located in another protected building known as a stand-by set house. These were similar in design to the transmitter and receiver block although smaller and were of brick construction and surrounded by a traverse (earth banks) for blast protection.
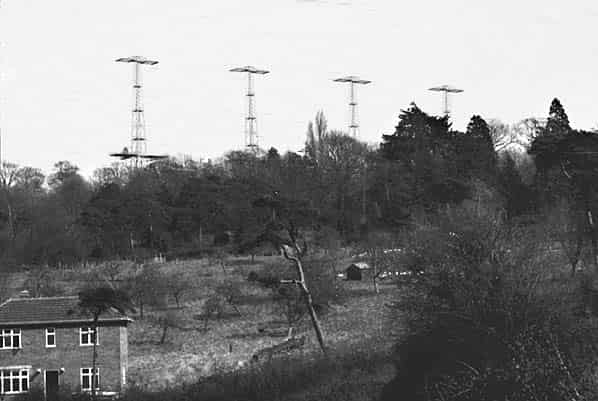
On completion of the experimental station at Bawdsey, Dunkirk was the third ‘East Coast’ Chain Home station to be constructed after 1937 (after Swingate at Dover) to provide long range early warning for the Thames estuary and the south eastern approaches to London. The site was controlled by No 11 Group Fighter Command and the area covered by the site was some 30 acres. Initially there were four steel 360' high transmitting towers spaced 180' apart and four 240' timber receiver towers in a rhombic pattern around the receiver block.In 1944 a fifth wooden tower was added and collectively they were known by locals as ‘The Nine Sisters’.
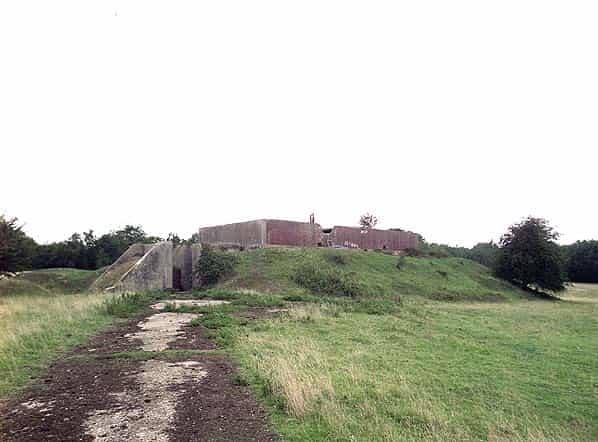
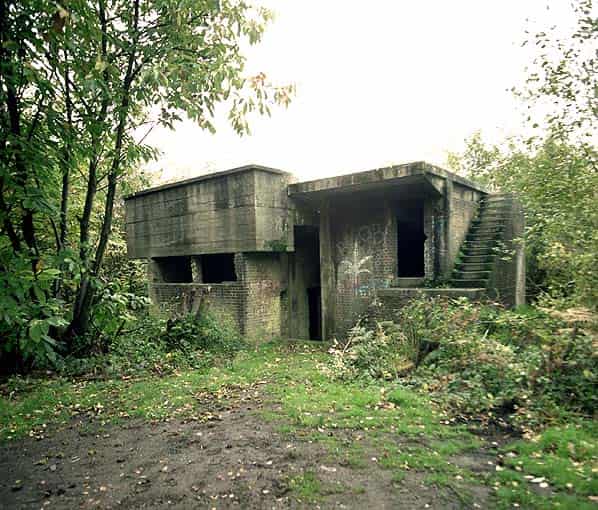
As a result of bombing during the Battle of Britain the original wooden operations buildings were replaced by new protected technical blocks which were built on the surface of brick with a six foot thick shingle cap for added roof protection and surrounded by an earth traverse.
The strength of the establishment was 150 living in the domestic camp located on the north side of the technical site. RAF Dunkirk took part in the pre-war exercises by Fighter Command, having been handed over in July 1937.
In 1938 RAF Dunkirk went onto the alert-during the Munich crisis and was kept at readiness right up to the outbreak of war. For stores and victualing, Dunkirk care ‘under RAF Manston, the nearest RAF station and this led to an amusing incident during the early part of the war.
On 9th August Dunkirk radar station was attacked by a formation of twelve bomb-carrying Me110’s, escorted by a formation of Bf 109’s. The fighter-bombers were from Test Group 210, an experimental unit, led by Hauptman Walter Rubendorffer. Their 250kg. bombs hit Dunkirk, the masts were shaken and near misses damaged the operations block. Three days later there was another attack, when two huts in the compound were destroyed and a 500 kg. bomb exploded near the transmitter block, moving it bodily several inches.
Another attack on 31st Aug damaged the station, but like Dover, only electricity power supply failure put it off the air.
Following the installation if the Chain Home network, continuous research and experimentation was taking place to improve the quality and type of radars that were available, During this process it became necessary to monitor and record enemy radar transmissions with a view to overcome possible jamming by the Germans and to facilitate our own jamming. This all resulted in the establishment of 100 Group equipped with both ground radar jammers as well as aircraft fitted jammers. The investigation part of the service was known as the ‘J Watch’; their task was to identify geographical location of the source. They were required to monitor every frequency from 20 MHz to 3000 MHz. In May 1944 J watch control moved from Garston to RAF Dunkirk; this required the use of a fifth 240’ wooden tower close to the main entrance to the station.
No 4 tower was also used to provide a base for the Type 55 CHEL radar which was located on the 200 foot platform with the technical block located in a wooden hut surrounded by a brick blast wall at the base of the tower.
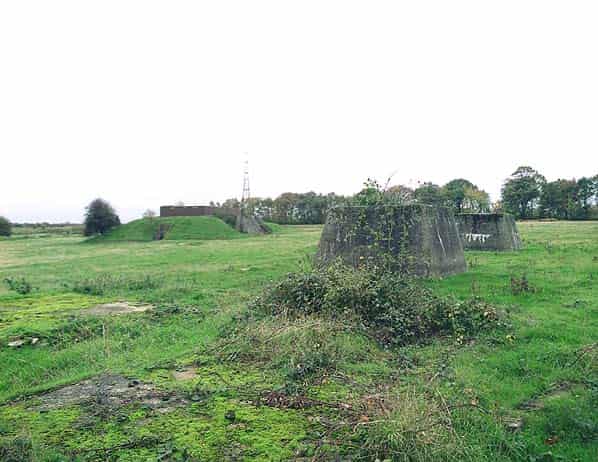
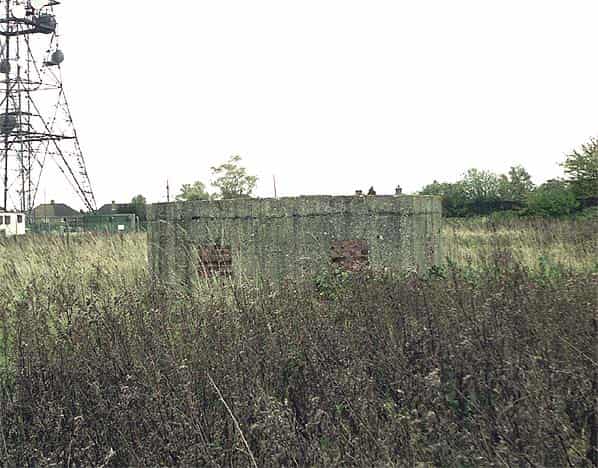
The bases for the four transmitter towers are in a straight line, two on each side of the transmitter block. There is rectangular brick blast wall with a blast proof entrance on two sides standing between the remaining concrete supports for No. 4 tower. This was almost certainly the control room for the Type 55 radar that was located on the 200' platform on No. 4 tower
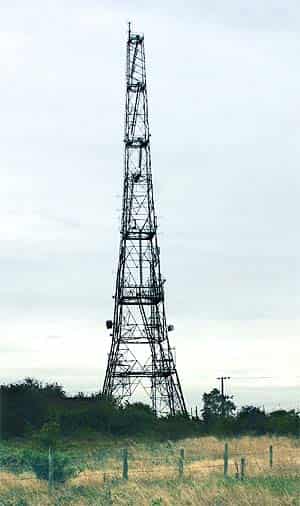
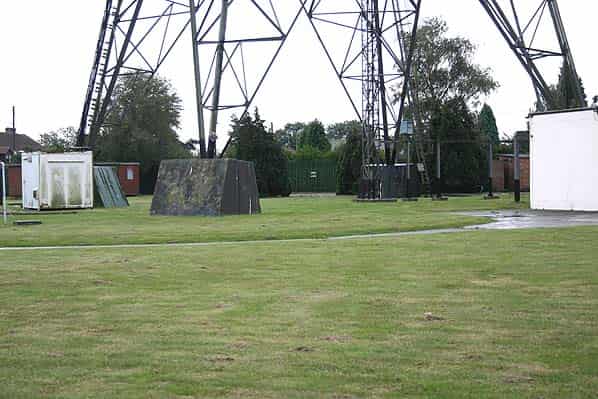
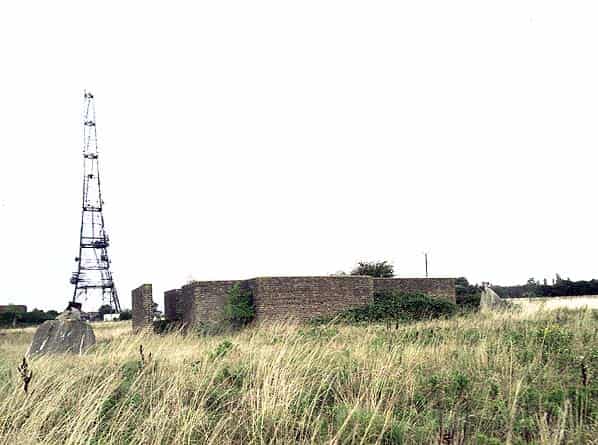
After the war Dunkirk radar was placed on care and maintenance and in the early 1950’s RAF Dunkirk was one of 15 stations selected under the ROTOR programme as a ‘readiness chain home’. The existing Type 1 radar was re-engineered, as part of the first phase of the rotor programme. (Code TDE). With introduction of Type 80 radar in 1955 RAF Dunkirk was redundant and closed. Three of the transmitter towers were demolished and sold for scrap in 1959. The wooden receiver towers were dismantled and sold for reuse elsewhere. The remaining transmitter tower remained in RAF hands and is currently used for microwave communications by the US Airforce so RAF Dunkirk is still an operational station.
RAF DUNKIRK TODAY
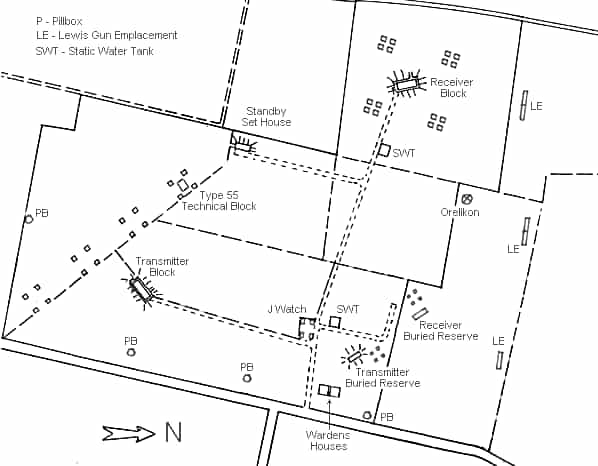
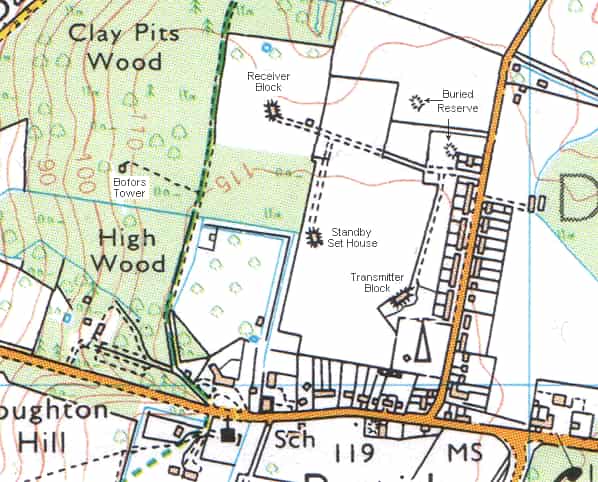
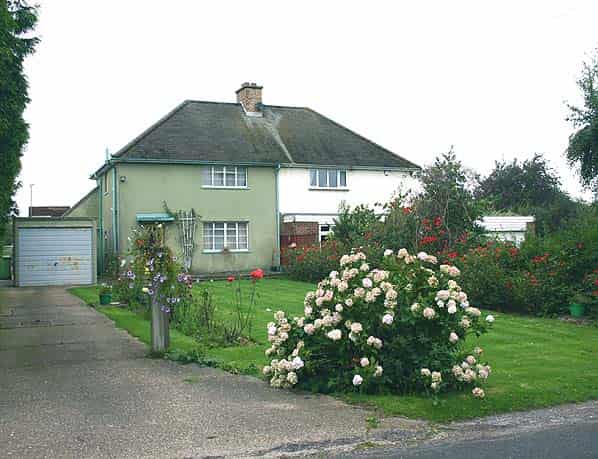
Today the major buildings on the technical site are still standing with a preservation order in force to stop any future development of the site. The main entrance to the station is at the end of a row of modern bungalows on the east side of Courtenay Road in Dunkirk village. Here the original concrete access road runs west alongside the original pair of Air Ministry wardens houses which are now in private occupation. After a short distance there is a junction with one road running south to the transmitter block and the other running north to the receiver block.
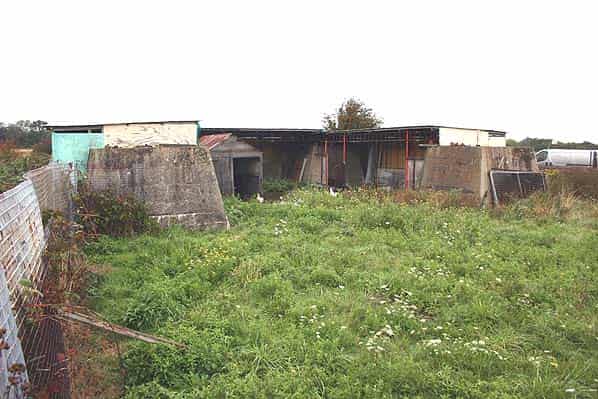
At this junction the four concrete bases of the ‘J watch’ mast have been incorporated into a large chicken coop.
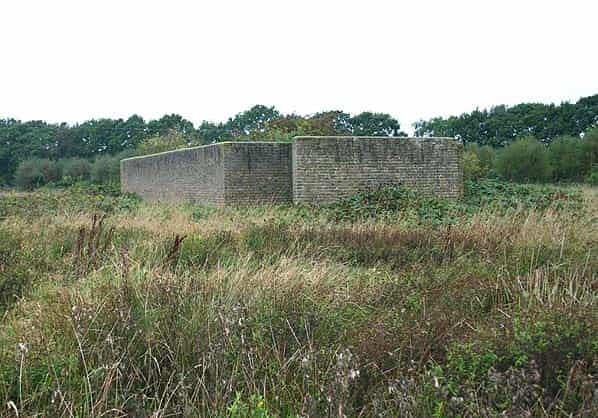
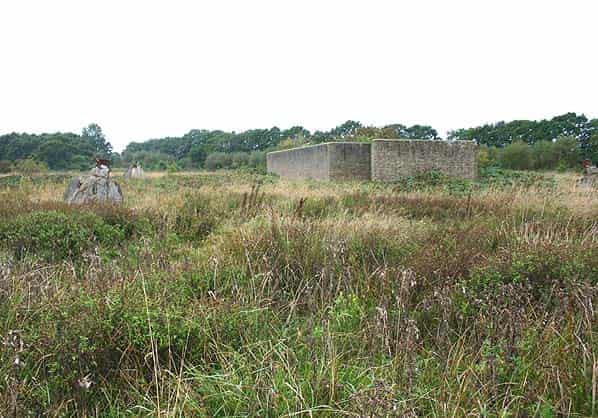
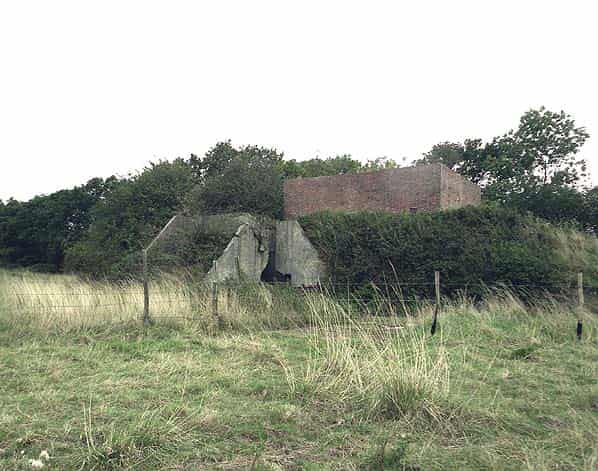
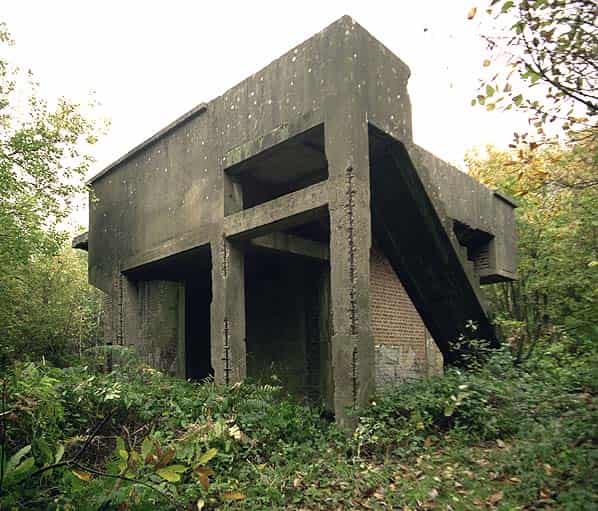
The transmitter block remains in good condition although rather overgrown; it is kept locked and is used for storage by the farmer. The bases for the four transmitter towers are in a straight line, two on each side of the transmitter block. Two of them are within the current RAF compound and the two to the north are in an untended overgrown field. The technical block blast wall for the Type 55 radar can still be seen between the concrete bases of No. 4 tower.
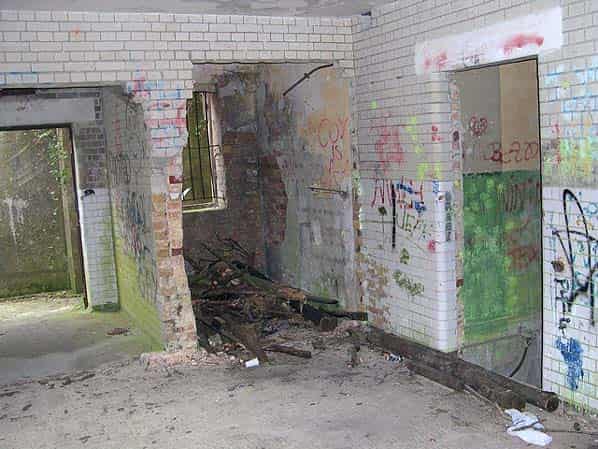
The receiver block is surrounded by the bases of the four wooden towers set in a rhombic pattern. The block is open but largely stripped of any fixtures and fittings with all windows, doors and floorboards removed leaving deep cable recesses in the floor (care required here). Some original green pain remains on the walls and the northern room still has a tiled floor, this would have housed the main power plant and rectifiers for the receivers. In a small room, accessed from the main spine corridor there is a low concrete plinth for the filtration plant.
Close to the receiver block there is a small open static water tank that would have provided an emergency water supply; this is still filled with water.
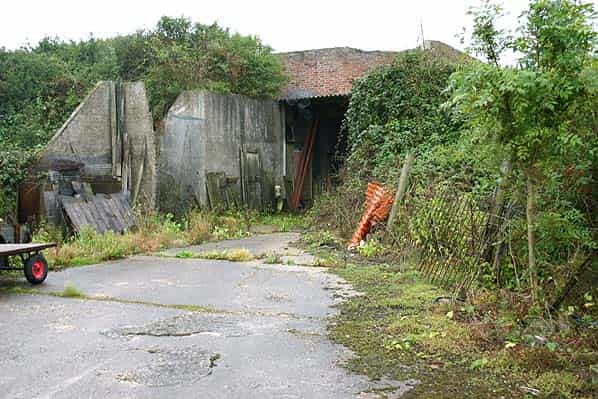
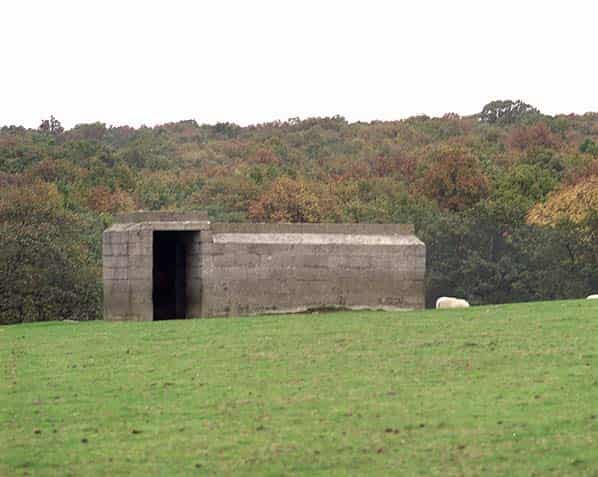
Between the main entrance and the receiver block another concrete road branches to the south were the standby set house is located. This is of similar construction to the technical blocks although half the size. It is open but is now heavily overgrown making access difficult. At some time it has been used as a cattle shelter but is now unused.
Both the transmitter and receiver blocks would have been fitted with duplicate sets of equipment. In the event of both sets becoming unusable, a third set was located in an underground chamber on the perimeter of the site, these were known as buried reserves.
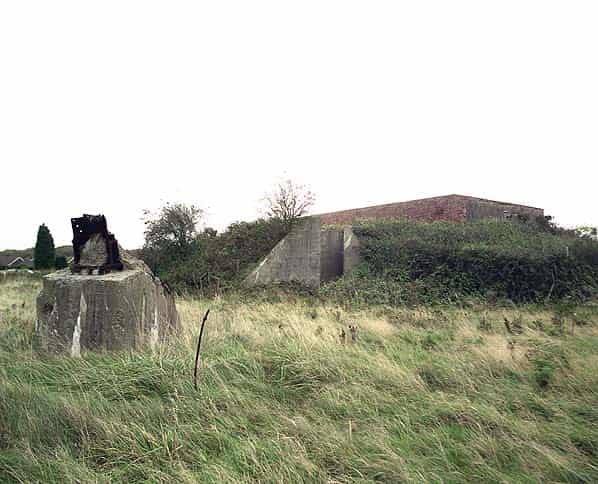
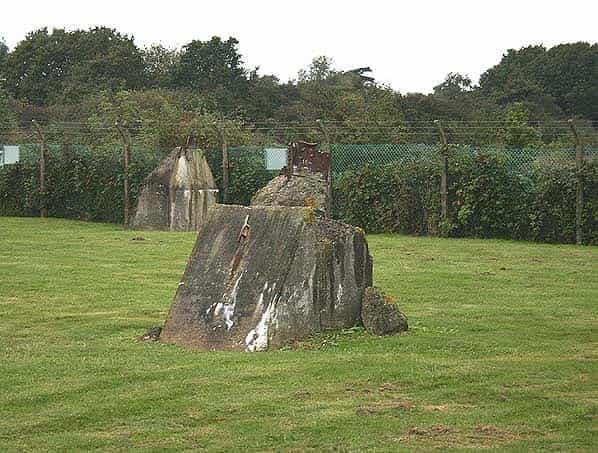
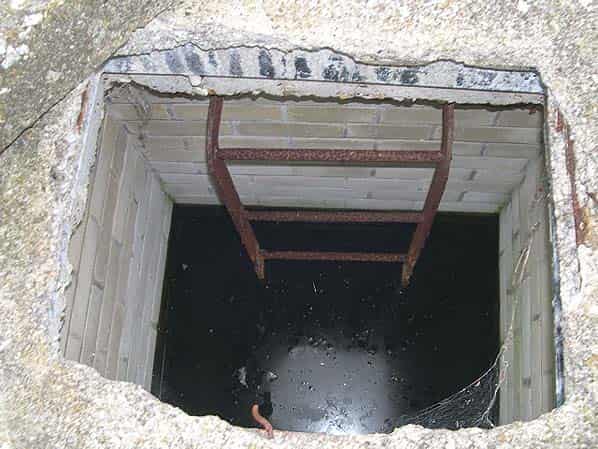
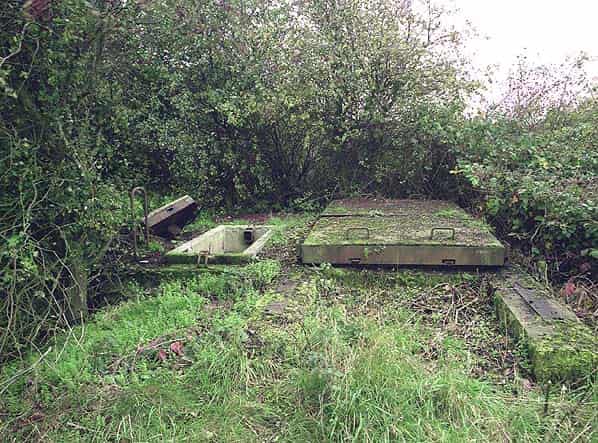
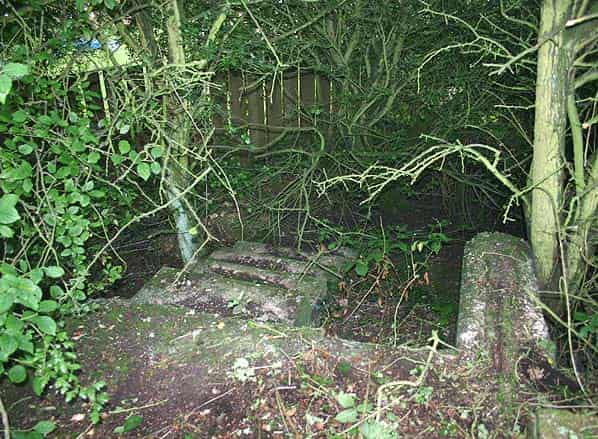
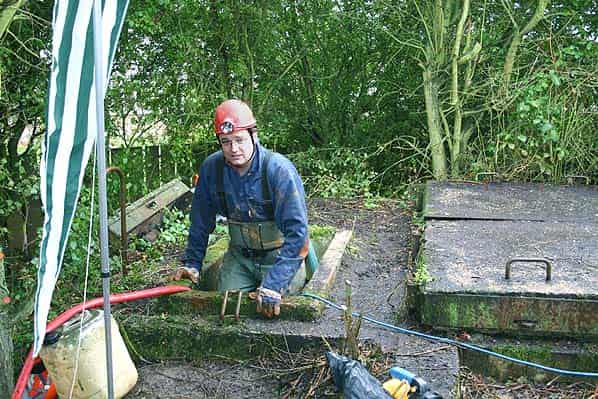
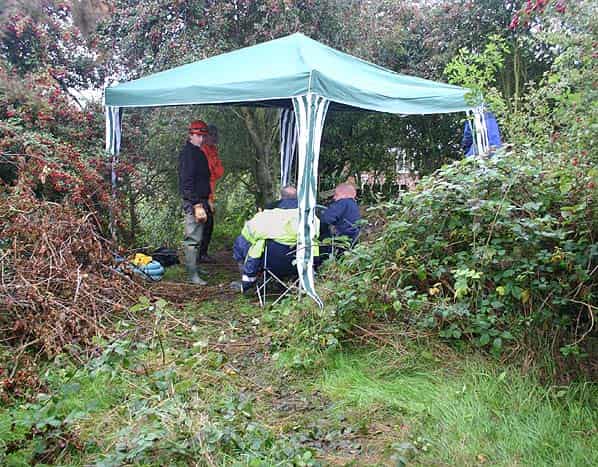
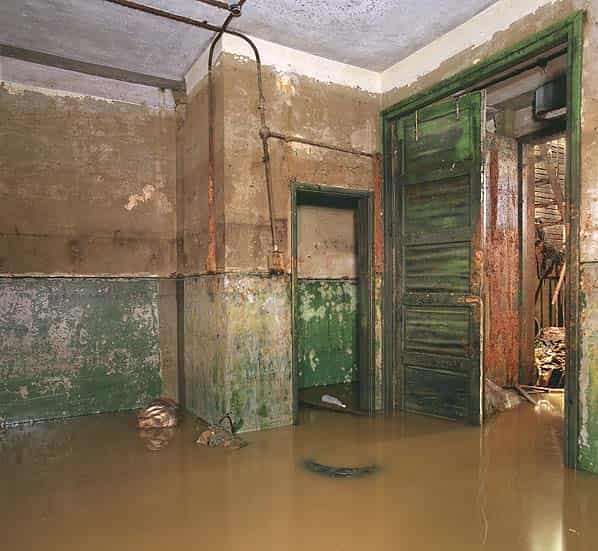
The transmitter buried reserve is in a heavily overgrown wooded area immediately behind the wardens houses. It is on an area of raised ground with concrete steps up to the entrance hatches. When visited in early September 2004 the personnel hatch had been pushed to one side. The internal steel stairs were intact but the reserve was found to be flooded to a depth of eight feet. Permission was obtained from the farmer to pump the water out of the underground chamber and this was done by members of Subterranea Britannica with the help of the Kent Underground Research Group on 25th September 2004.
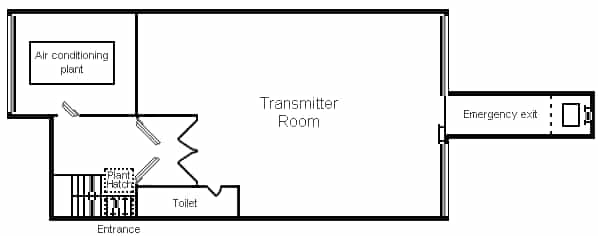
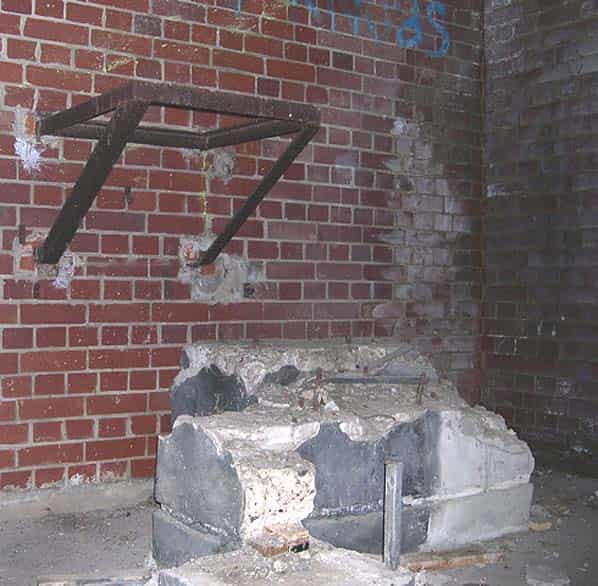
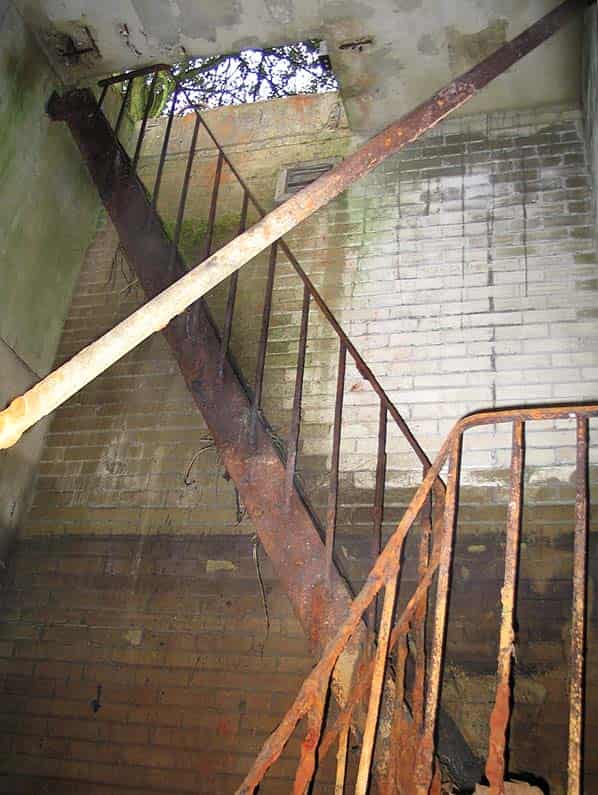
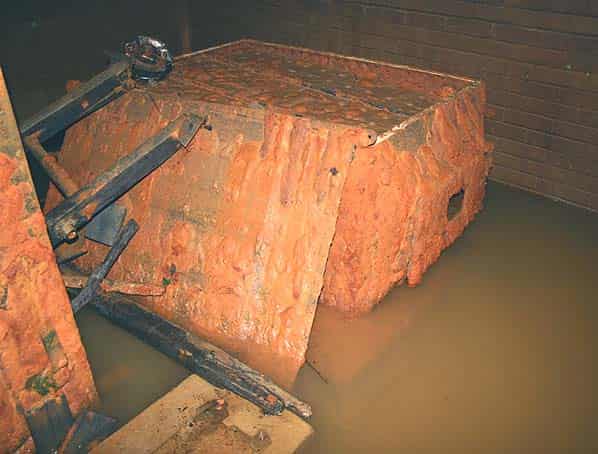
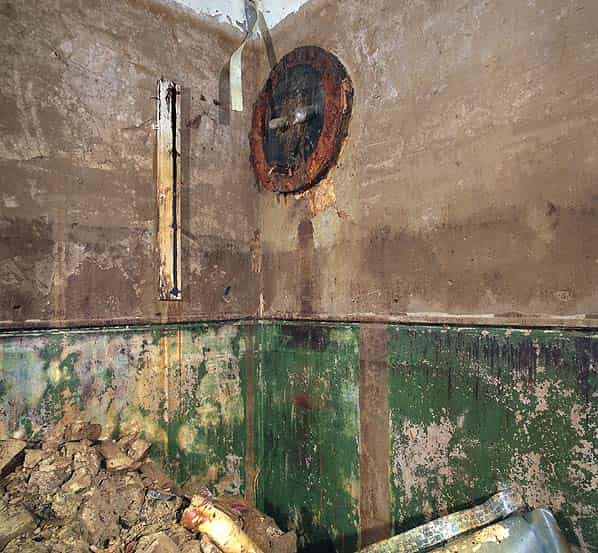
The main access was by moving a three flat reinforced concrete covers on steel rollers and running rails. The two larger covers were for plant access and the smaller cover gives access to a steel staircase down 17' 5" into the bunker. At the bottom of the main stairway there is a lobby area with a gas tight steel door into the air conditioning plant room. The gas filter cabinet is still in place although now lying on its side on its concrete bed in the centre of the small room. There is a second small concrete bed against one wall; this would have been occupied by a suction fan. There are openings in the wall for the air ducting which has been removed.
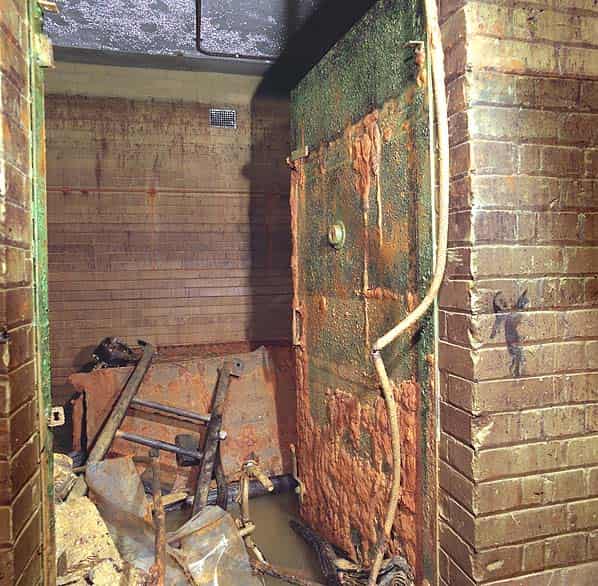
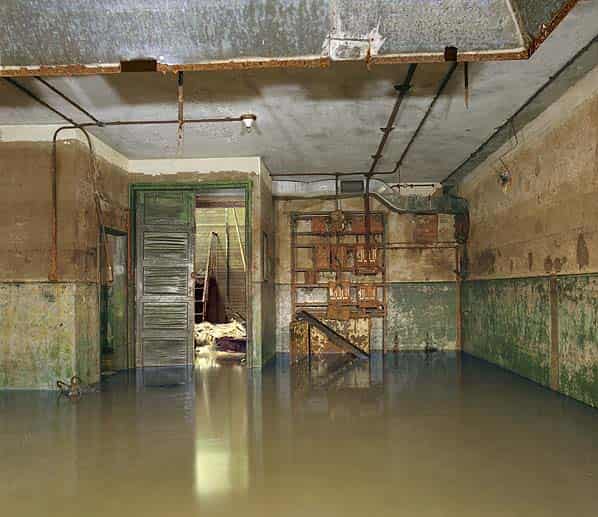
Back in the entrance lobby there is also an air lock into the transmitter room. This consists of a pair of large gas tight steel doors into the airlock and a similar sized set of wooden doors out of the airlock into the transmitter room. Both sets of doors still in place although now rusted into the open position. Beyond the air lock a doorway to the right gives access to a toilet with an alcove to the left of the air lock back to the wall of the air conditioning plant room.
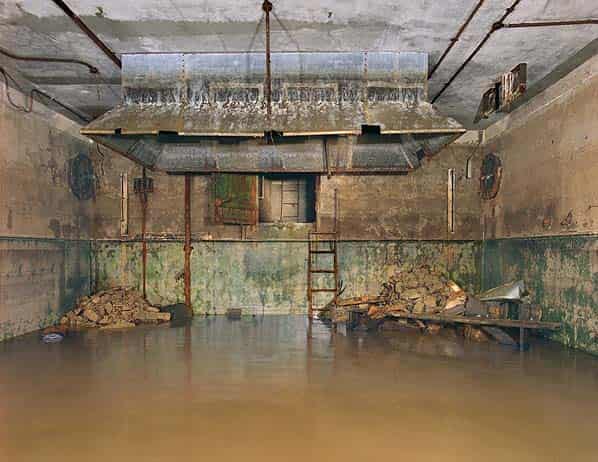
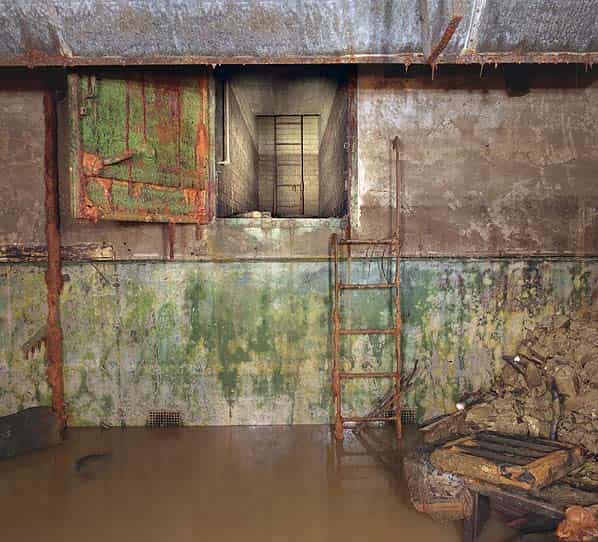
On the north side of the transmitter room there is a large rectangular galvanised extractor hood suspended from the ceiling. This would have been immediately above the T3026 transmitter. There is a 5' X 3' gas tight steel door at ceiling level in the centre of the north wall with an offset steel ladder fixed to the wall for access to the escape tunnel which consists of a 13' low passage and at the end a vertical ladder. The ladder is still in place but the escape hatch has been sealed with concrete.
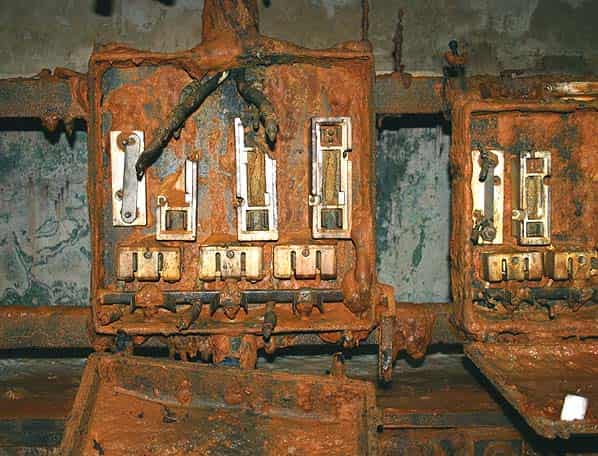
A large rack of electrical switchgear is still in place on the back wall of the transmitter room and a number of other electrical fittings are still in place including GPO junction boxes, fuse boxes and light fittings. Mounted on the ceiling next to the extractor hood are two cylindrical porcelain insulators mounted on the ceiling on stand off metal brackets. These were mounted next to the input for the aerial feed cables. One of these cables protrudes through a circular hole in the ceiling and is still fixed to the insulator. The insulators are dated 1940. In three corners of the room there are cable entry points just below ceiling level with the cut cable ends still protruding through the bitumen. There are three square holes in the ceiling, two in the transmitter room and one in the plant room; these are the three ventilation shafts. There would originally have been three short stacks on the surface with wooden louvres at the top but there is no evidence of these remaining.
The underground chamber is strewn with rubble, especially at the bottom of the stairs and at the far side of the transmitter room. A long wooden bench is probably original.
Close to the access hatches but completely overgrown, the four concrete bases for the 120' high reserve transmitter mast can also be found.
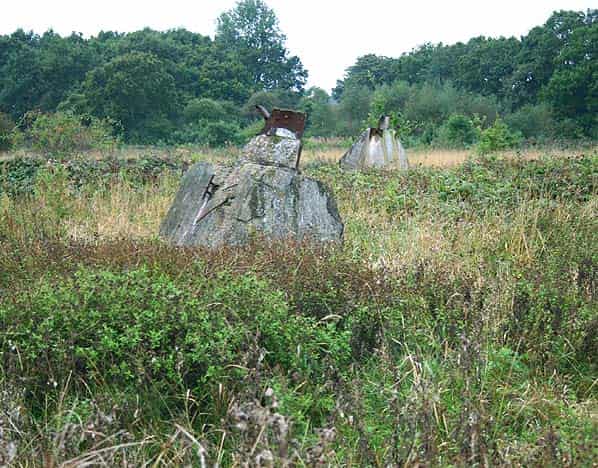
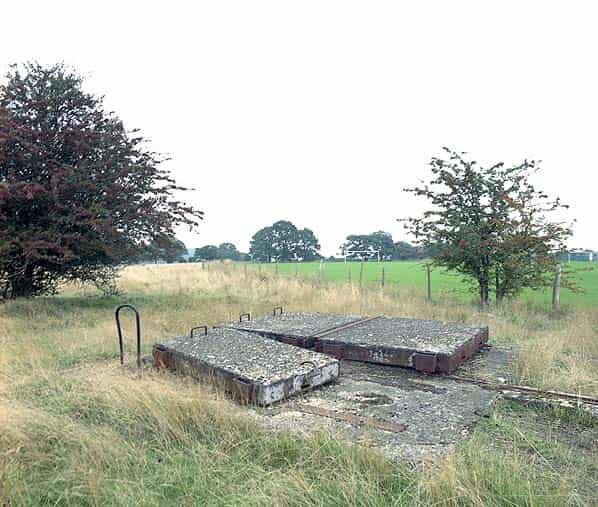
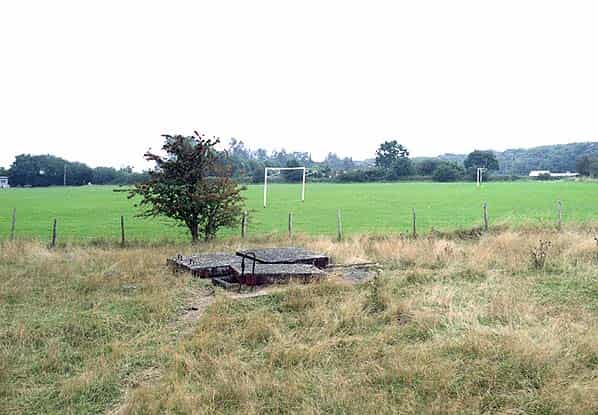
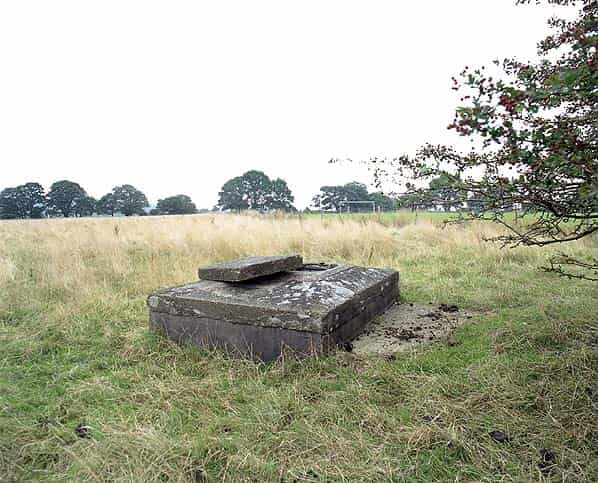
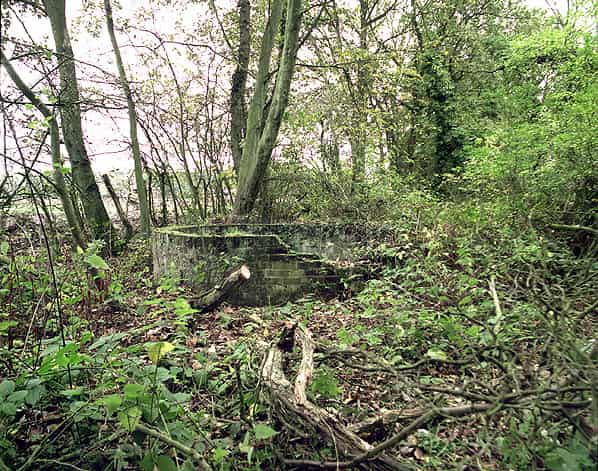
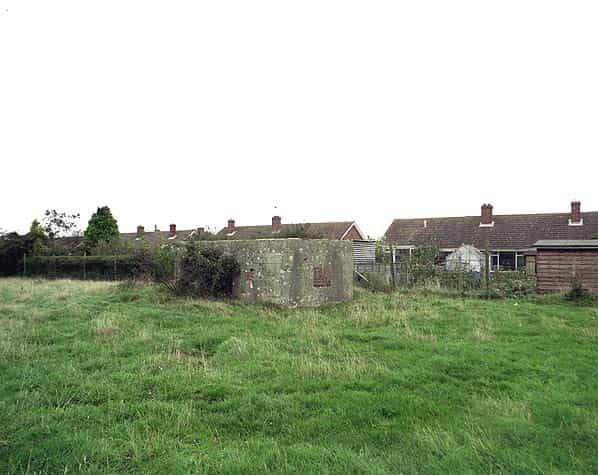
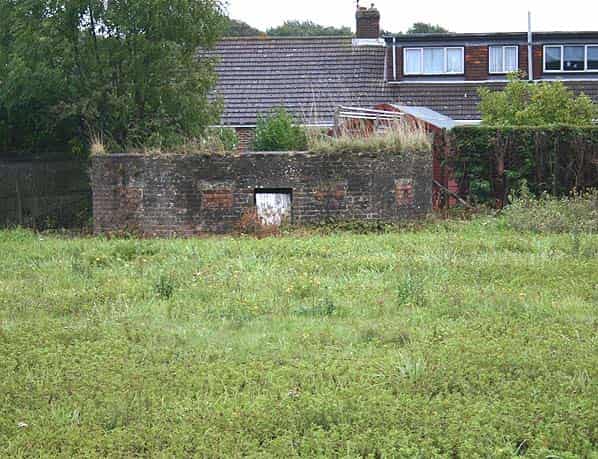
The receiver buried reserve is located in a field a short distance to the north west. All the hatches are still in place over the main stairwell which has been filled with concrete rubble. The concrete cap on the emergency escape shaft has been broken but the shaft is flooded to within a couple of feet of the surface. The four concrete bases for the reserve receiver tower can still can be seen nearby. There is a metal bar protruding from each base to which the wooden tower leg would have been bolted.
A short distance to the north west of the receiver buried reserve there is a hexagonal concrete pit that would have housed an Oerlikon 40mm light anti aircraft gun. This is a Swiss designed gun manufactured in great numbers under licence in Great Britain during WW2. Three Lewis machine gun emplacements can also be seen along the boundary of an adjacent playing field that was built on the site of the domestic camp. Four pillboxes (two Type 22 and Two Type 24) can also still be seen close to the perimeter fence.
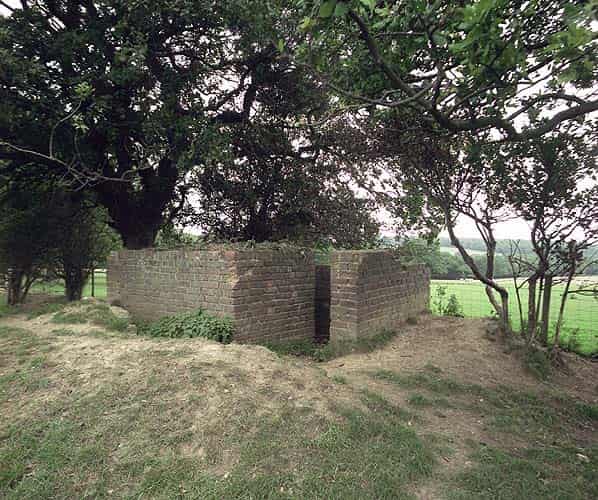
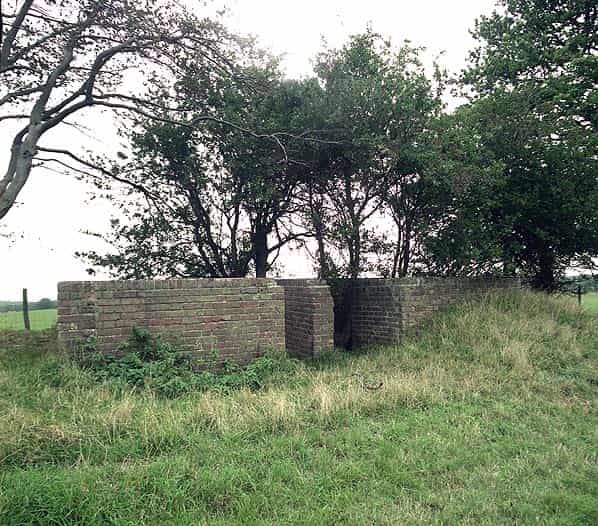
A brick and concrete Bofors tower can be found in Clay Pits Wood to the west of the receiver block. The tower, which has been listed by English Heritage, stands in a clearing in the woodland, 75 yards west of a bridleway. It has two external stairways up to the gun platform which would have mounted a Bofors gun and a Lewis gun to provide further air defence for the radar station. A hexagonal concrete plinth on the gun platform would have supported the Bofors mounting. The rooms beneath the gun platform would have been for ammunition magazines and crew quarters.
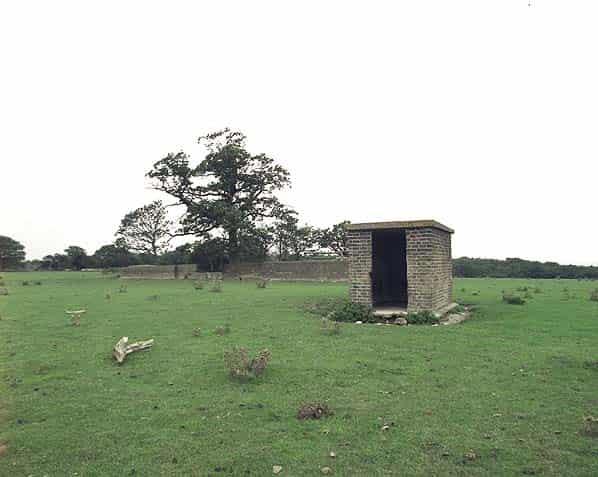
A number of other buildings survive outside the main technical site, one of these being an underground air raid shelter.
Sources:
- Bob Jenner
- D. Collyer
- Various PRO Files including Site & Survey 1937 - 1941 AVIA7/263 & AIR 25/681