")
Swynnerton RGHQ (9.1) stands on the site of a WW2 Royal Ordnance Filling Factory built in 1941. The site was closed in 1957 but reactivated in 1962 with a plan to use two of the semi-sunken explosives magazines as the civil defence Group Control for North Staffordshire and Stoke County Borough Control.
In 1964 Group Controls were abolished and the bunker became the Staffordshire County Control and County Training Centre. In 1967 the County Control was relocated to the basement of the county buildings in Stafford (completed 1969) and after 1968 the bunker was put on care and maintenance although the whole factory site was still owned by the MOD and used as an army training area.
In the early 1980’s the bunker was reactivated as SRHQ 9.1 and in 1988 was refitted as RGHQ 9.1 serving the eastern part of the West Midlands, finally closing in 1992. It was sold back to the army who have been unable to use it on health and safety grounds as it had remained empty and was believed to have toxic gasses including methane. Although there have been a number of open days at the training area the bunker has always remained strictly out of bounds.
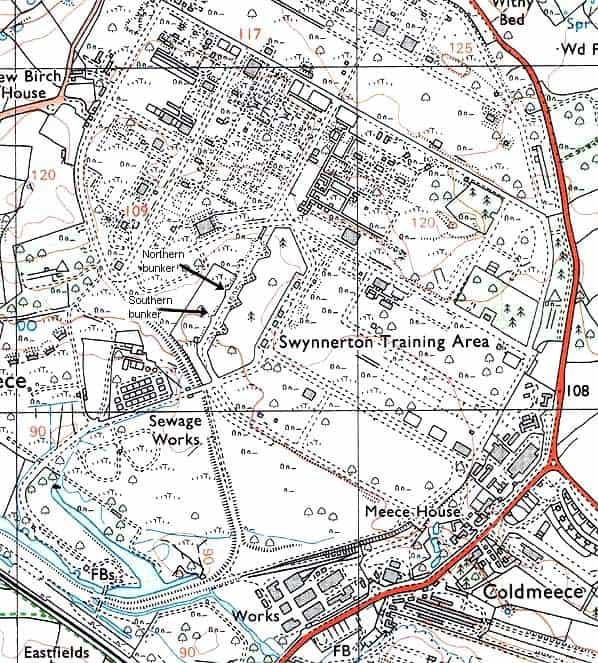
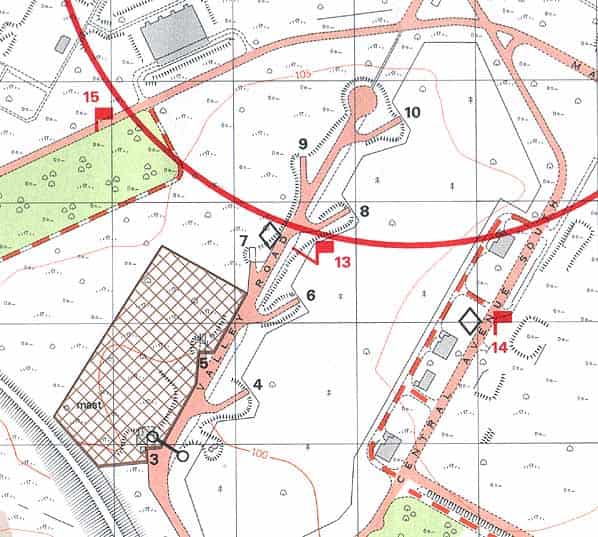
The bunker is located on the north side of Valley Road, an internal training area road, at the southwest end of what were the Group 9 explosives storage magazines. Magazines 3 & 5 were utilized with a new covered way constructed to link the two together.
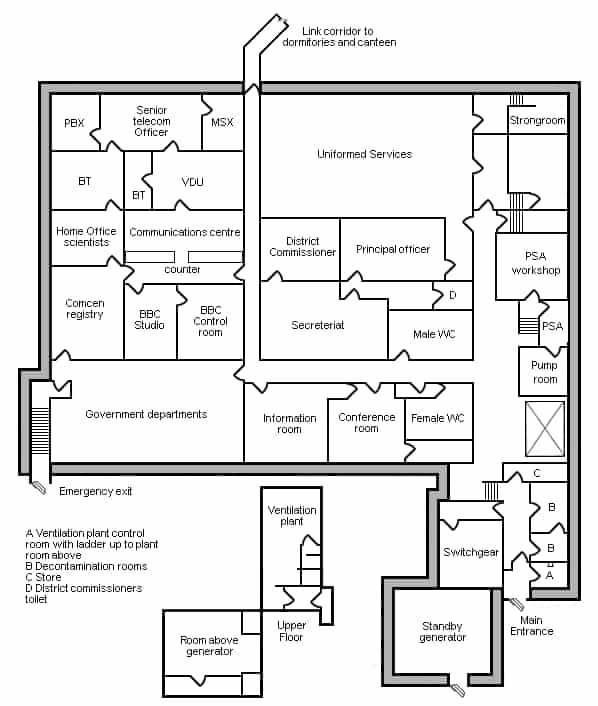
Within the bunker there was accommodation for the regional commissioner and his immediate support staff, representatives from government departments and military liaison officers. The bunker was designed to be self-sufficient, and contained facilities to carry out its functions for a number of months. Ancillary services required to keep the bunker functioning included; fuel and food stocks, a diesel generator, air filtration plant, radio communications, dormitories, lavatories, a kitchen and restaurant.
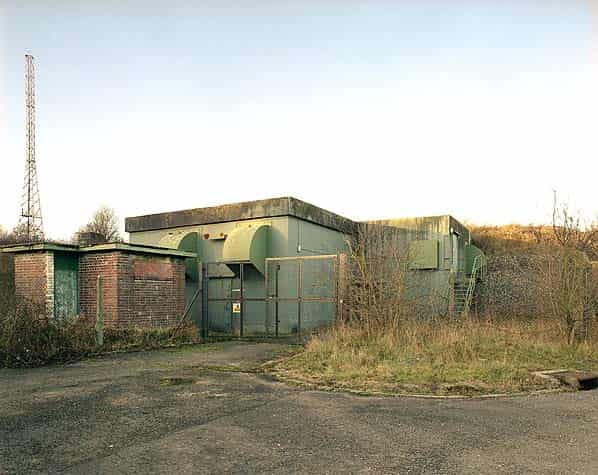
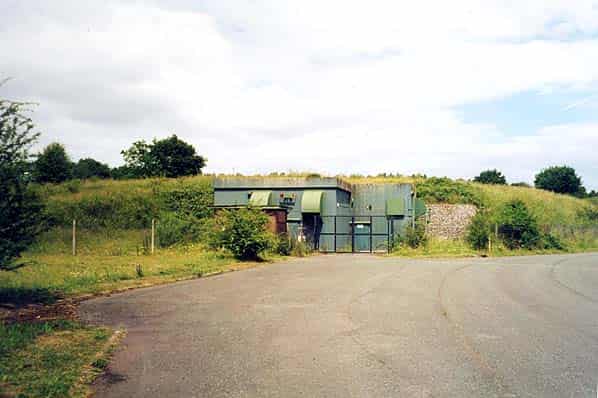
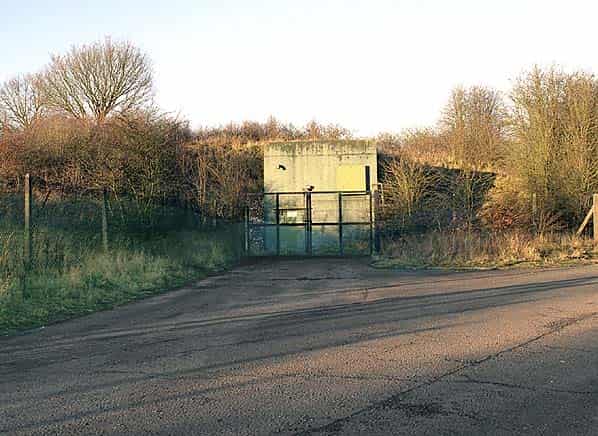
The main entrance to the complex is located on the southeast corner of the southern bunker (No 3) and incorporates the former rail entrance to the magazine. All exposed concrete surfaces are painted emerald green.
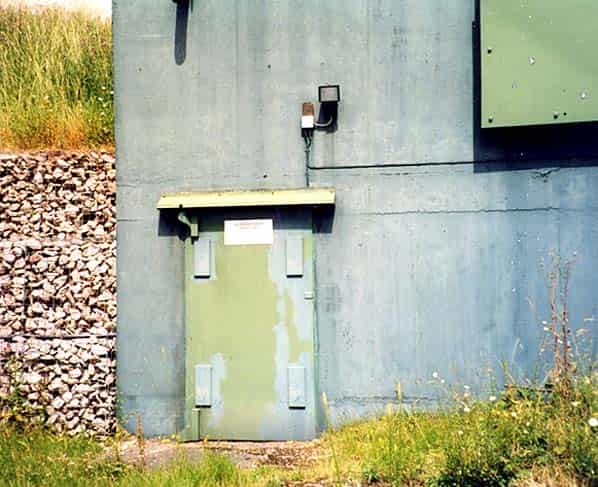
The front of the bunker was completely rebuilt in 1988 with a double storey entrance block incorporating a new extension at right angles to the main entrance that houses the standby generators. This is a two level structure accessed through its own steel blast door on the southern face; above the entrance there are two downward facing cowls which are probably the exhaust vents. There is no internal connection between the standby set house and the rest of the bunker. It was not possible to see the generators as the door lock was seized and could not be opened. A small brick building on the south side of the standby set house is of unknown date and use and may have no connection with the RGHQ.
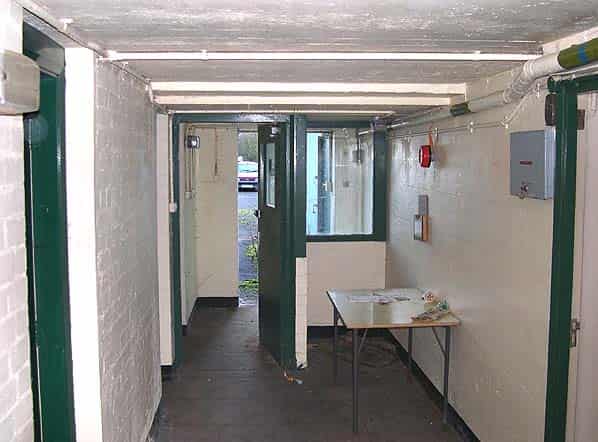
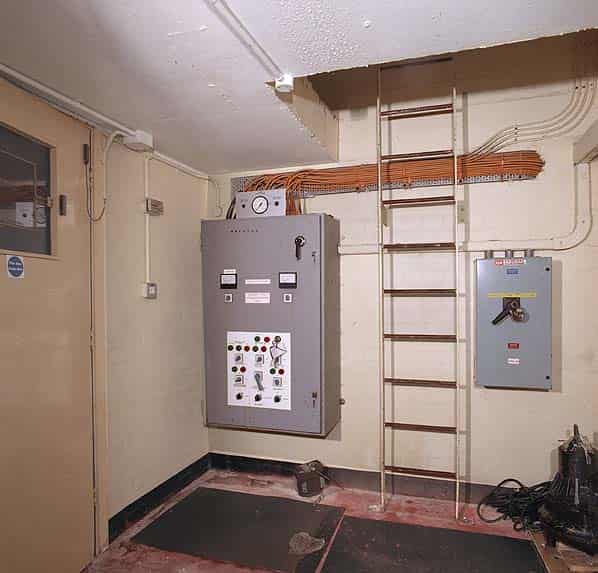
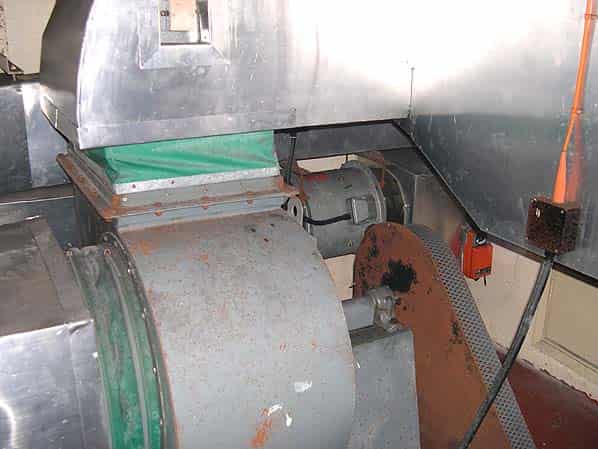
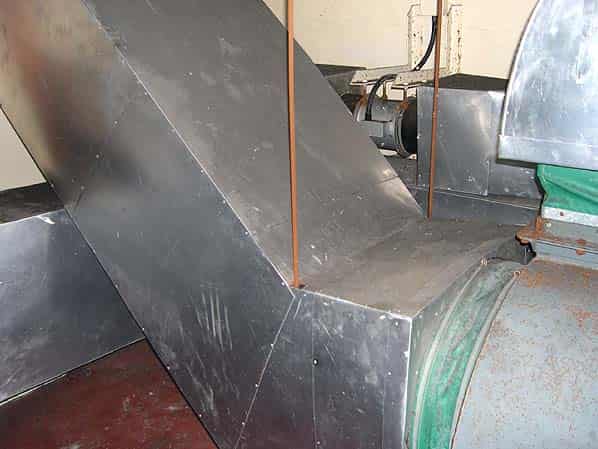
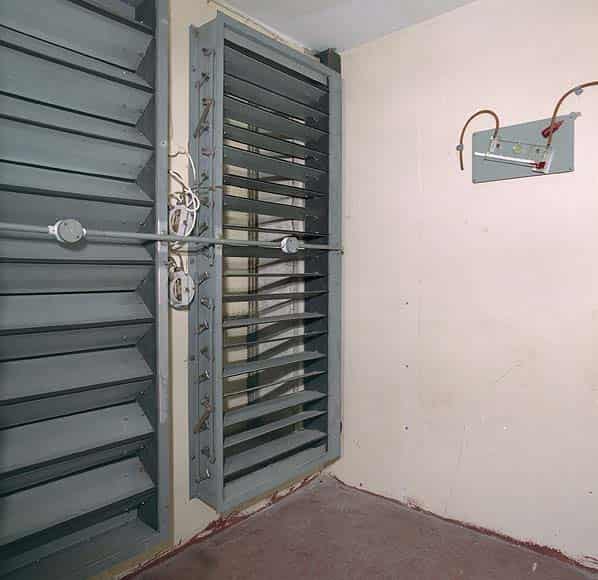
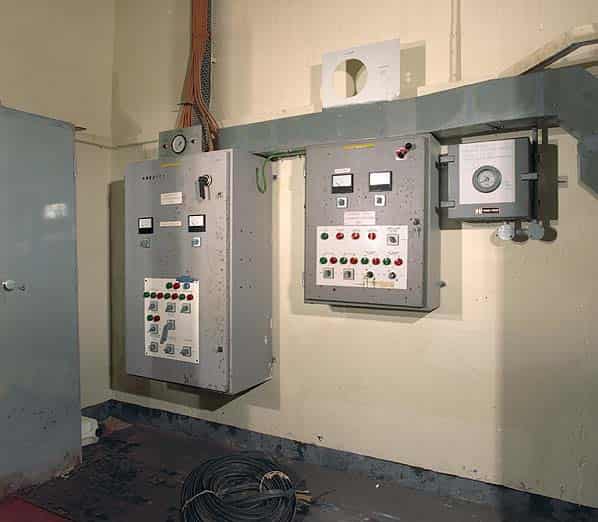
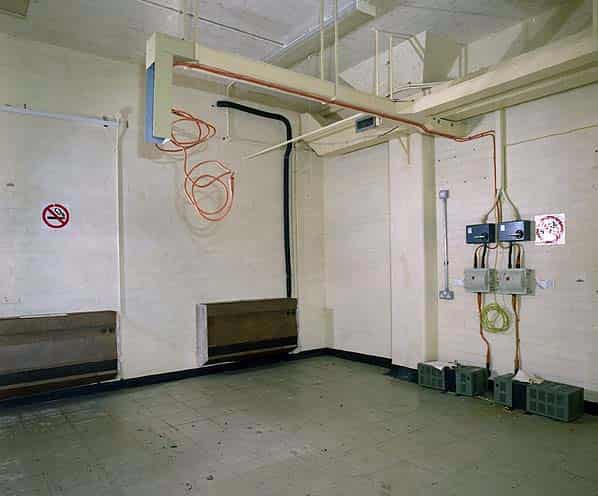
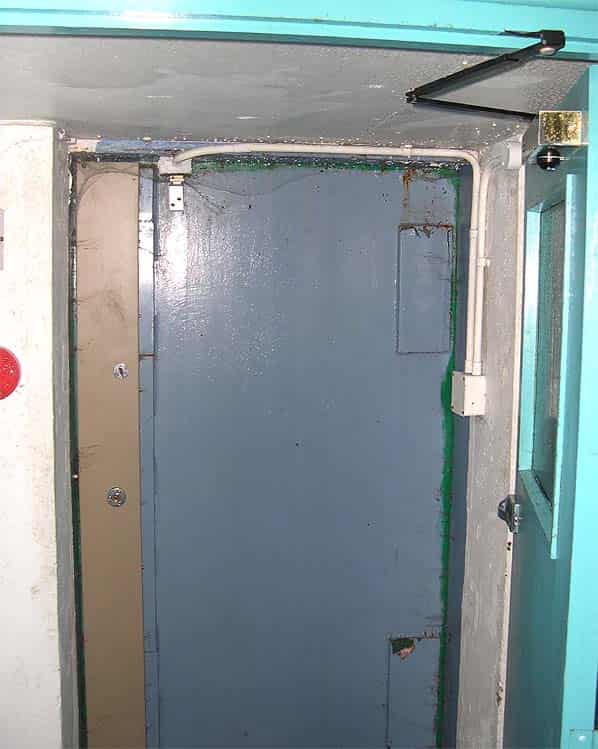
The main entrance into the ‘operations’ bunker is through a ground level steel blast door. Once inside a door on the right leads into a small switchgear room for the ventilation plant. There are two wall mounted cabinets; the larger is the control unit for the ventilation plant and the smaller is a large switch box with a padlock on it. Between the two boxes there is a ladder to the upper level ventilation plant consisting of filters and a fan which controls the air circulation by feeding filtered air through metal trunking running through the bunker. This plant only services the southern bunker. There is an external entrance to this upper level by means of a steel staircase on the eastern face which gives access to a small concrete balcony and steel blast door. The air intake for the ventilation plant is on the southern elevation where there is a steel blast plate. Exhaust was extracted through a single downward facing cowl positioned to the north of the upper door.
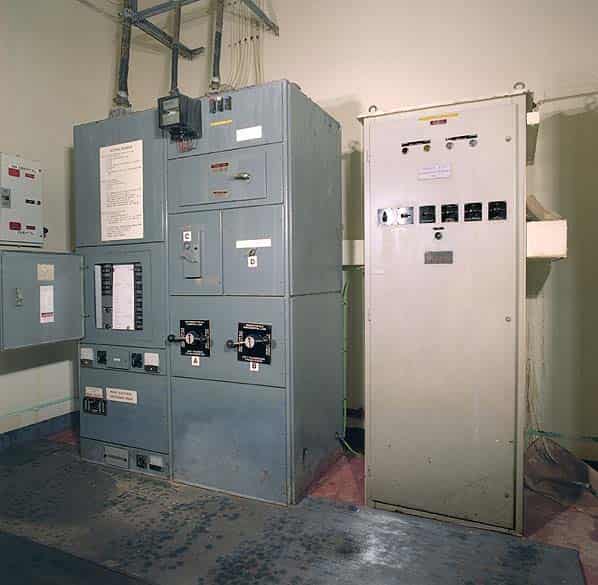
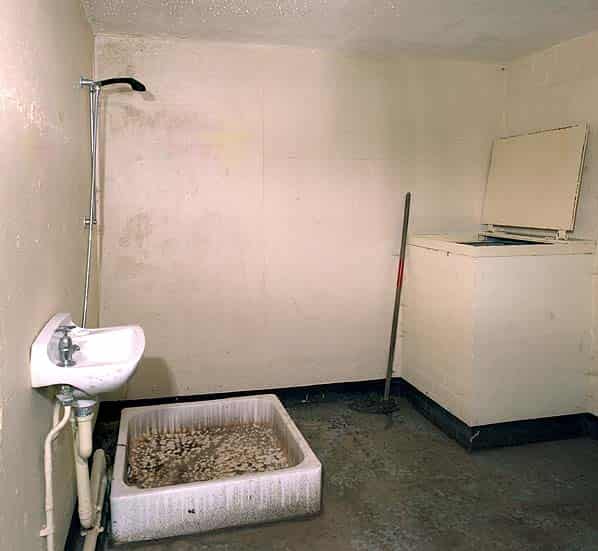
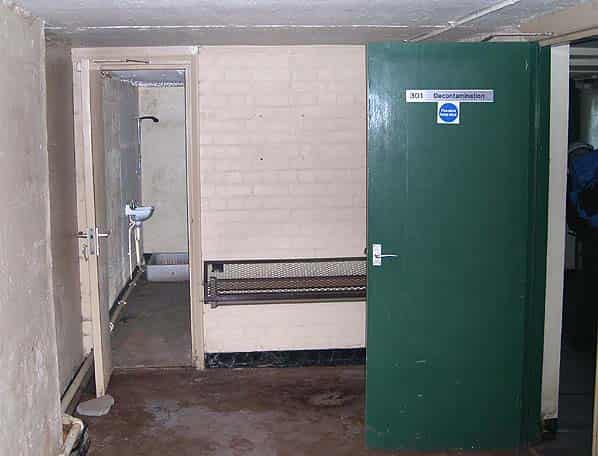
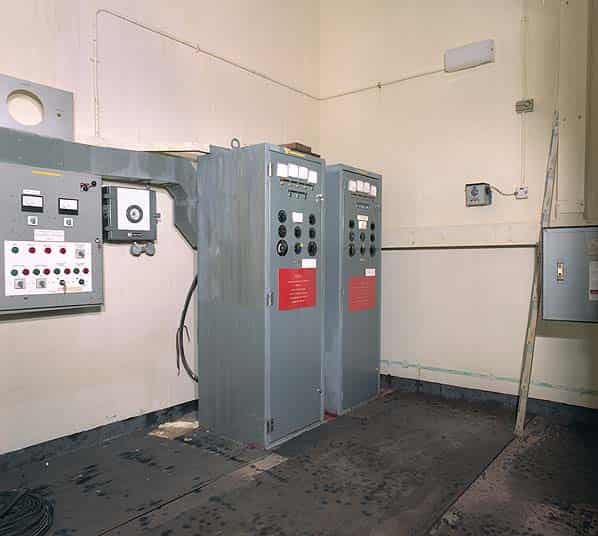
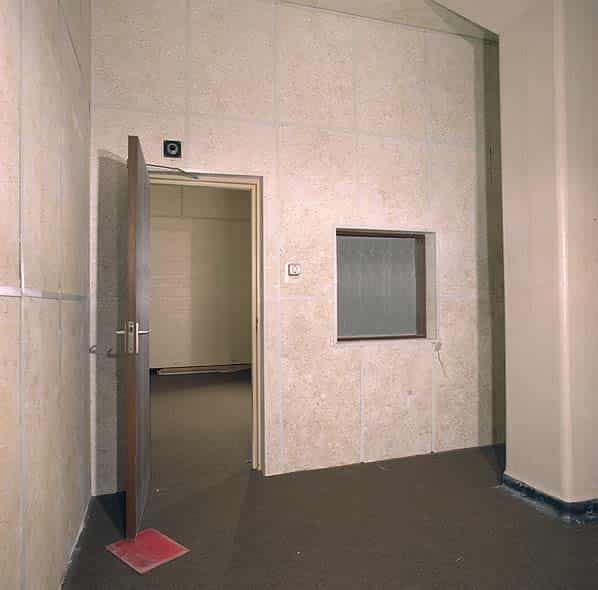
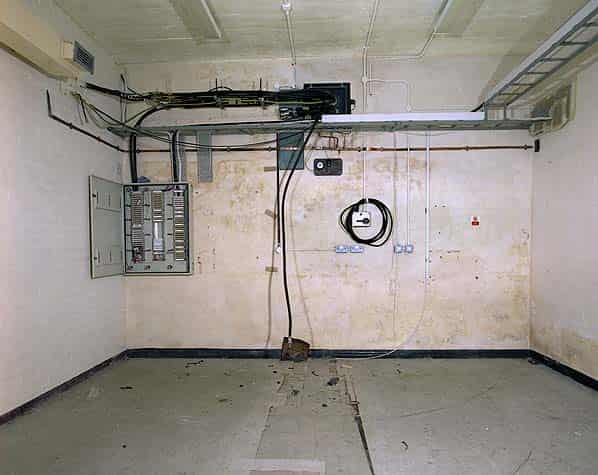
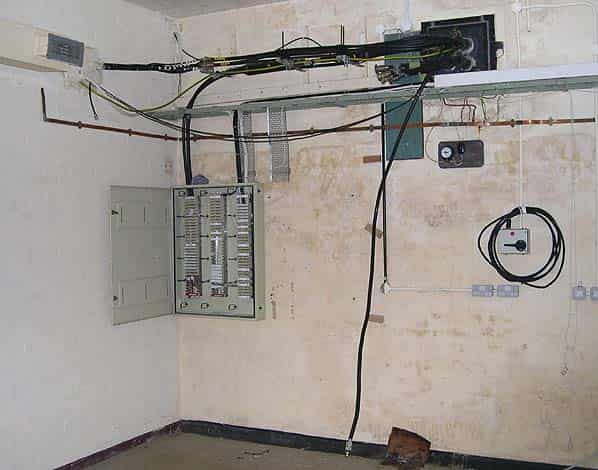
Back in the entrance lobby there is a second door with a glass viewing window alongside. Passing through there are two routes into the bunker, straight ahead along a short corridor or to the right through two decontamination rooms. The first room contains a small shower, sink and a disposal bin for contaminated clothes; the second room was for dressing with a second door back into the entrance corridor. To the left is the main switchgear room for controlling the electrical circuits throughout both bunkers including all the controls for the standby generator. There are four floor standing electrical cabinets and two smaller wall mounted cabinets.
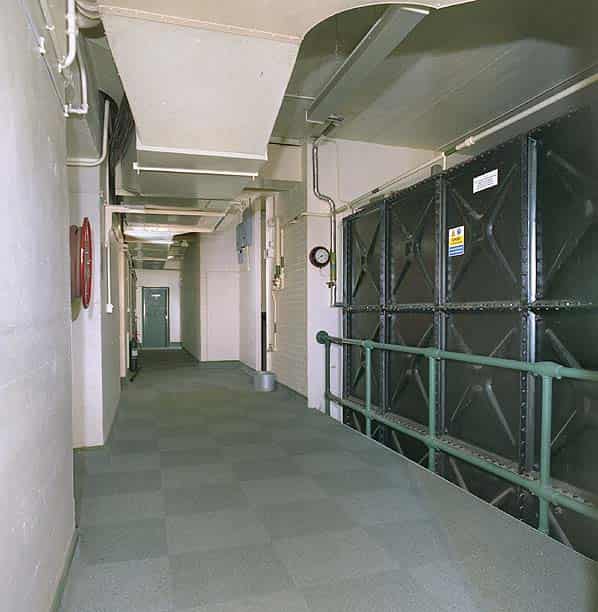
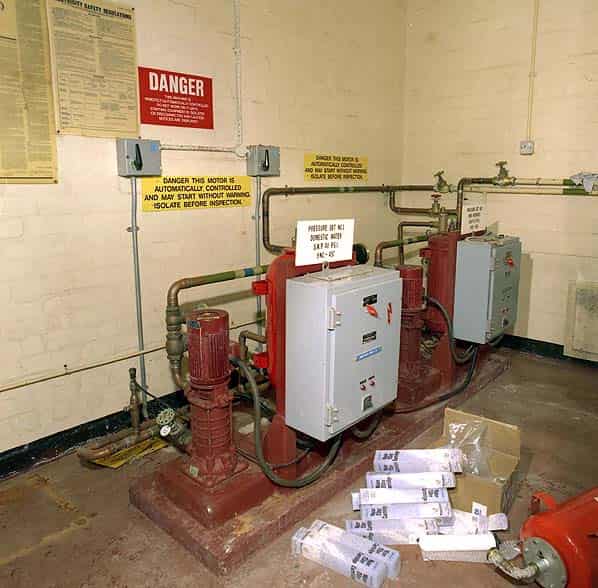
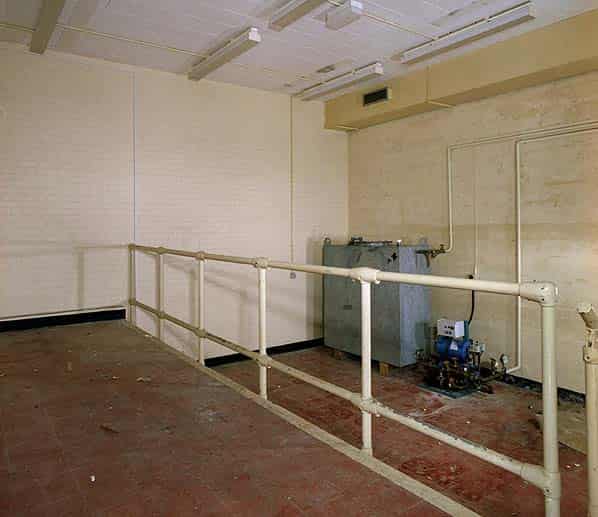
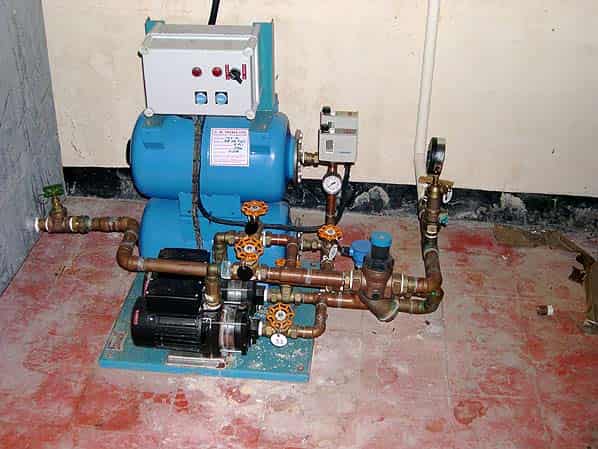
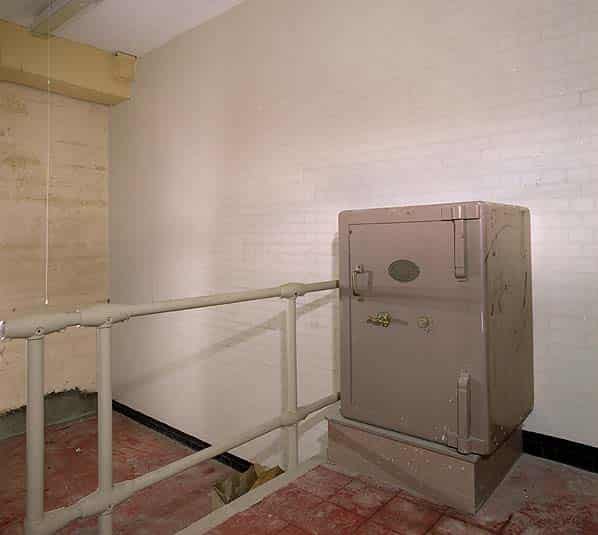
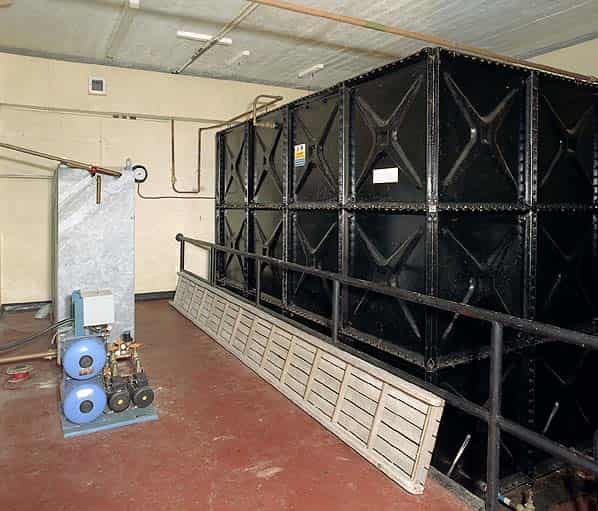
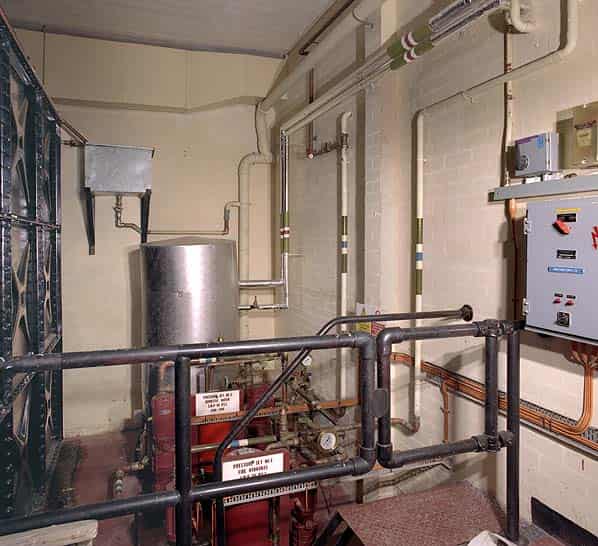
Beyond the switchgear room there are four steps up to the left. The entrance corridor is on the line of the standard gauge railway loading bay for the magazine with the steps up to the level of the railway platform. The loading bay itself has now been partitioned into a number of rooms, each with steps down to the original rail level. A wide corridor runs along the platform with a large water tank on the right, beyond that there are steps down to three rooms. The largest room is the PSA workshop with a large work bench along one wall which is, in fact, the edge of the railway platform. Passing through the smaller PSA room the water pumps are located in the third room. Back in the main corridor, there are three further rooms with steps down to railway level; one of these was the strong room which still retains a large safe.
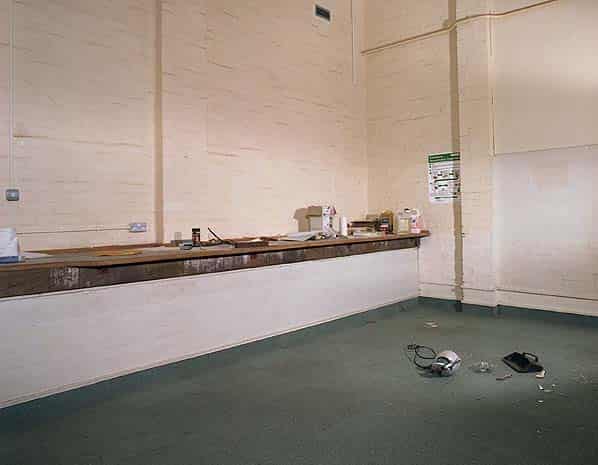
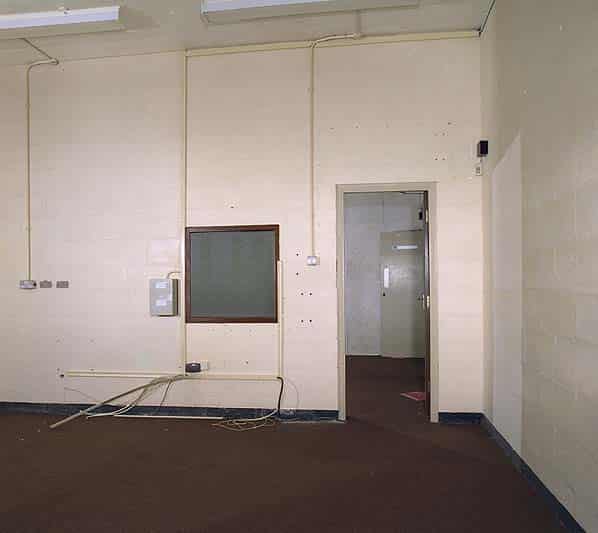
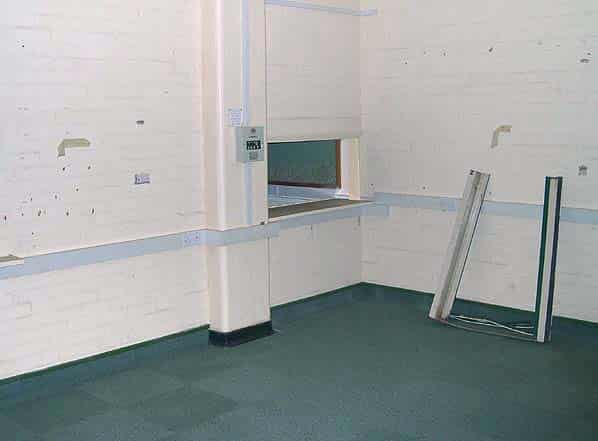
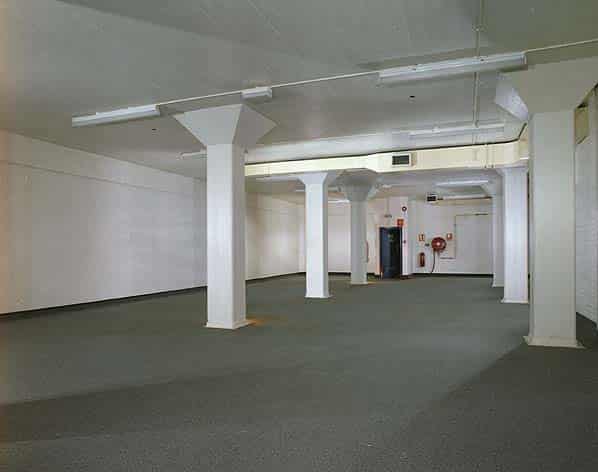
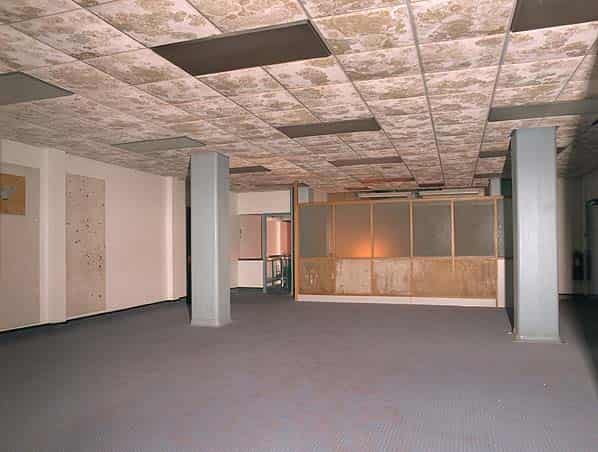
The remaining part of the bunker is at the same level as the platform with all the rooms being accessed from an ‘L’ shaped corridor. Most of the rooms have been stripped of any fixtures and fittings apart from ventilation trunking and basic electrical fittings. The two BBC rooms, a studio and control room have acoustic tiles on the walls and a glass window between them. The BBC rooms are reached through the ‘Communications Centre’ which is sometimes referred to as the ‘Counter Room’ as it has a physical counter running from east to west across the room. The VDU room has ceiling mountings for a large piece of electrical equipment and the BT room has the ceiling mounted rack that supported the main distribution frame (MDF) and a wall mounted cabinet containing all the incoming phone lines.
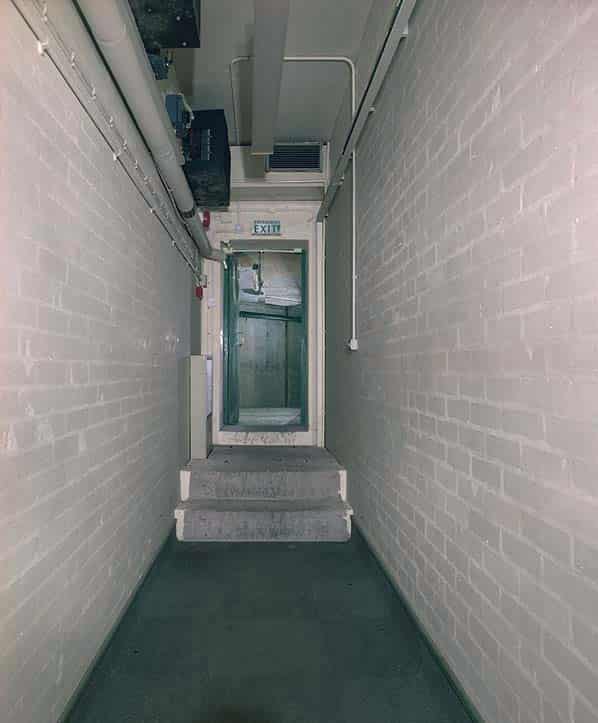
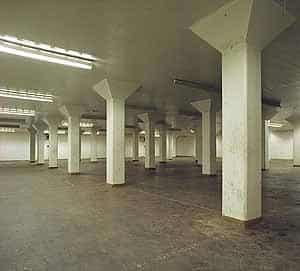
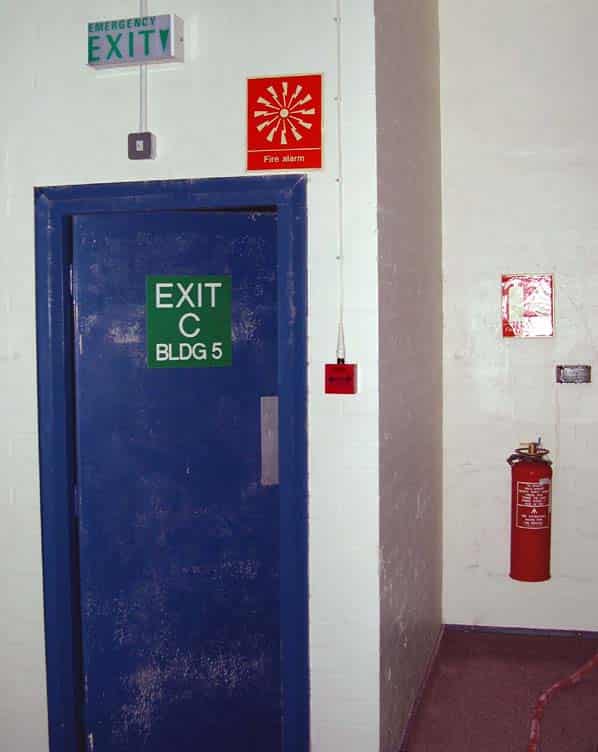
As built, the magazine had 30 concrete pillars in five lines of six pillars for additional roof support. All of these have been retained some being incorporated into new partition while others are free standing in the larger rooms. There is an emergency exit in the south west corner of the bunker consisting of a flight of stairs. As the stair rises above the ground it is protected by a reinforced concrete exit blockhouse with a steel blast door.
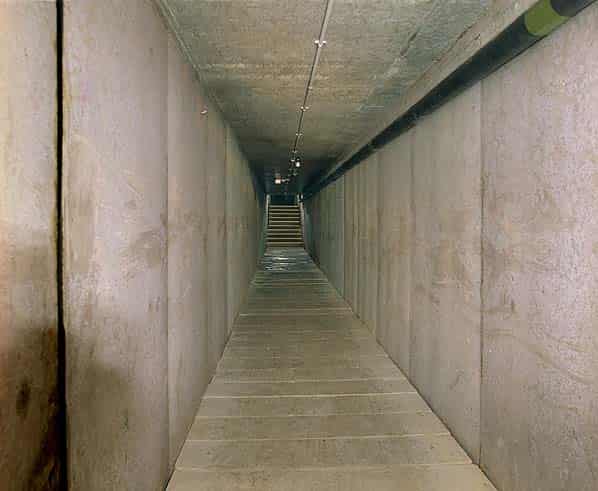
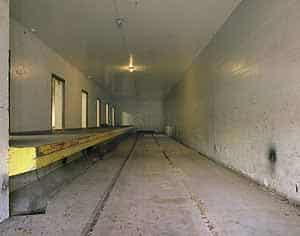
In the middle of the north side of the bunker, at one end of the ‘L’ shaped corridor there is the connecting tunnel to the second bunker, originally magazine No. 5. This tunnel is approximately 150 feet in length and was built at ground level and later covered over with soil and grassed. It is a of a very basic construction, rectangular in section with a bare concrete floor and pre cast reinforced concrete wall and ceiling panels. The tunnel has never been painted or internally lined and has no forced ventilation. In the middle the tunnel is raised by six feet for a short length with steps up and down again, it is assumed that at this point it passed over a pipe or cables.
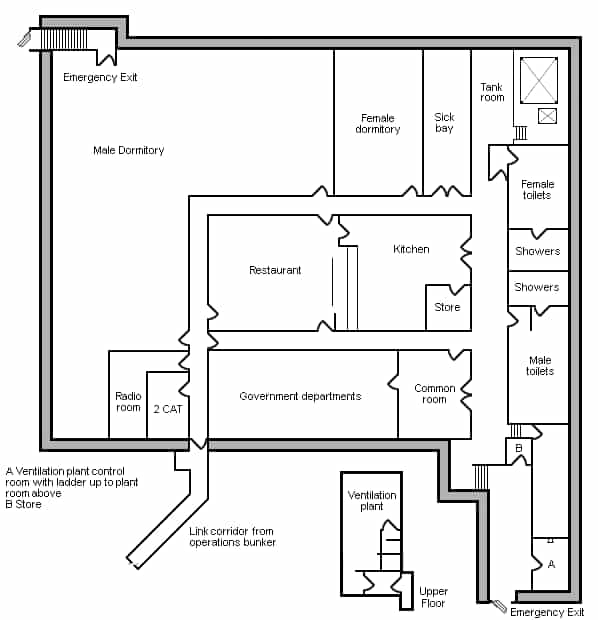
The second bunker was originally an identical magazine and following conversion it housed mainly the domestic rooms with a few operational rooms on the south side. The link corridor from the operations bunker enters on the south side. The large ‘L’ shaped male dormitory occupies the entire west and half of the north side of the bunker with another emergency exit stairway in the north west corner. Alongside is the female dormitory which is about a quarter the size and next to that the sick bay.
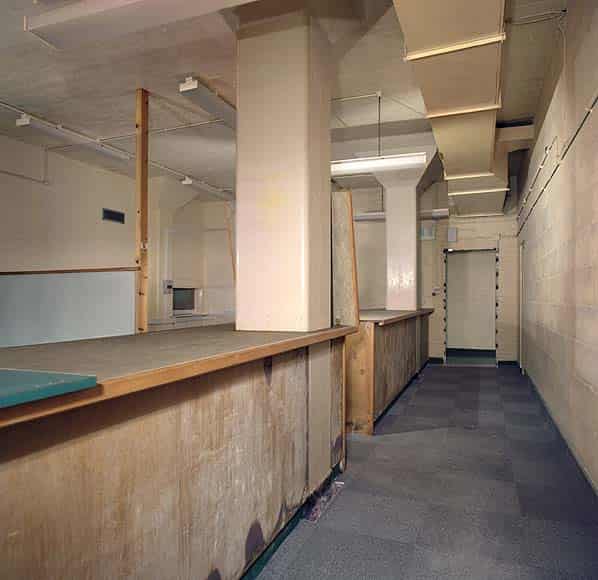
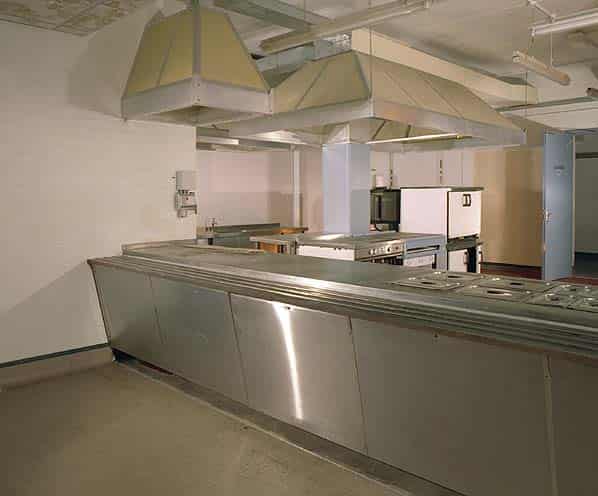
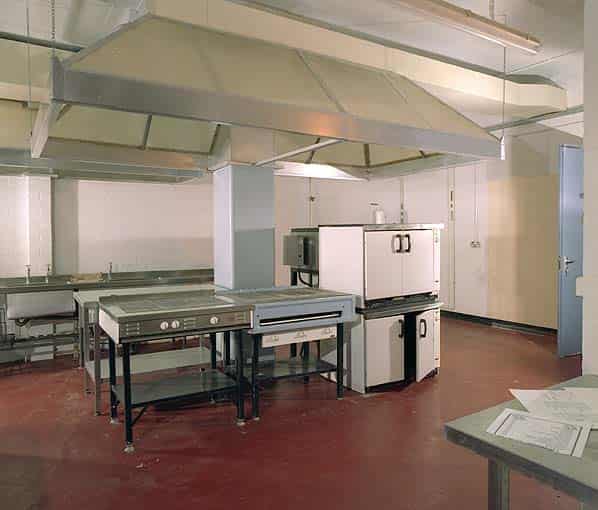
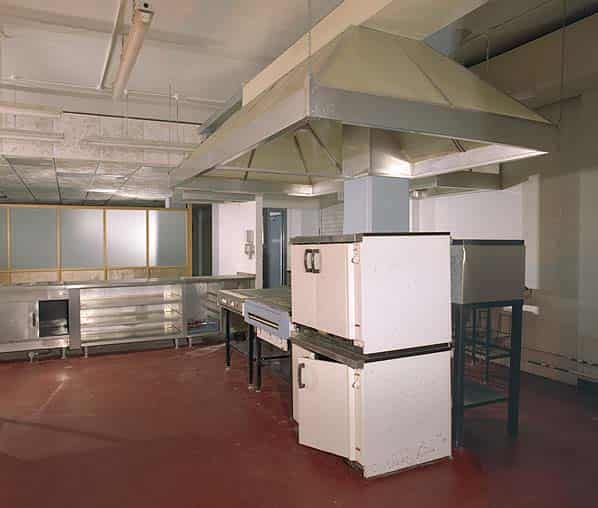
The kitchen and restaurant occupy the centre of the bunker, the restaurant has some wall decorations and atmospheric wall lights with a translucent screen on the east side hiding the stainless steel serving counter. The kitchen is one of the few rooms in the bunker that had not been stripped retaining all its stainless steel units and appliances including ovens, hot plates, water heaters sinks, fridge, freezer etc.
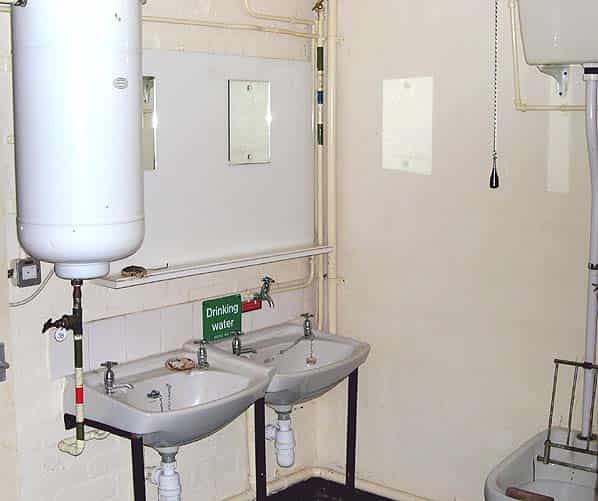
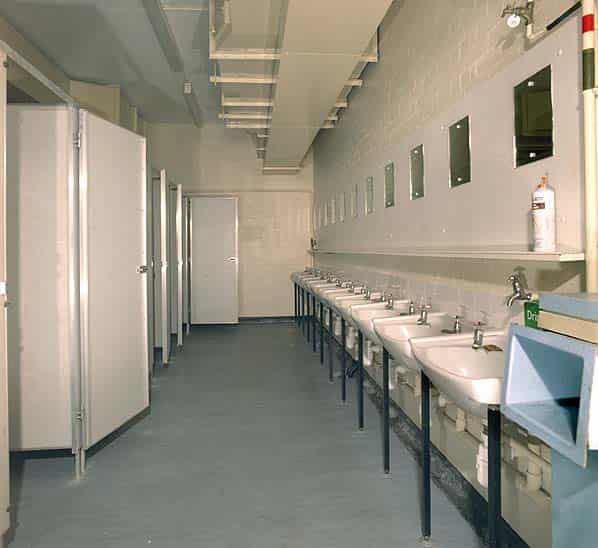
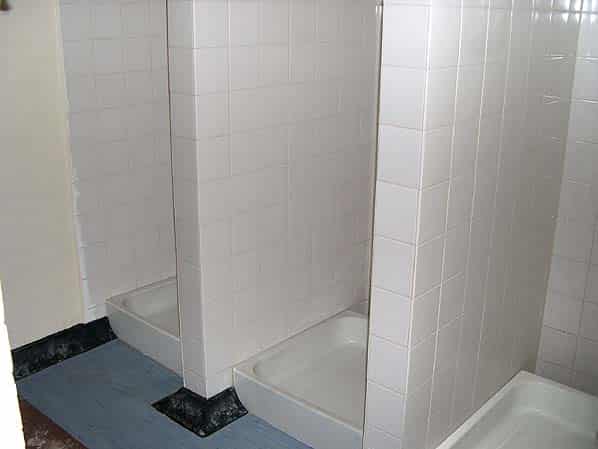
Running north to south along the east side of the bunker there is a wide corridor which was originally the railway platform. Unlike the operations bunker the loading bay has been largely filled in bringing the floor level up to that of the platform. Only one end has a section of the original sunken loading bay been retained. At the northern end this consists of a tank room with steel steps down to the tanks. In the middle are the main male and female toilets consisting of a long line of WC cubicles (and urinals in the male toilet) along one wall and a line of hand basins along the opposite wall. At one end of each room there is a separate shower room with a number of shower cubicles. At the south end of the corridor, steps lead down to an entrance lobby which again has been rebuilt as a two level structure with a second ventilation switchgear room and a ladder up to an identical ventilation plant room. Although there is an entrance blast door it’s unlikely this was used and it probably acted as a third emergency exit.
Both bunkers are clean and dry but have been disconnected from mains water and electricity. A third magazine has been converted on the south side of Valley Road but this has no connection with the RGHQ and is part of the present military training area. On the west side of the operations bunker a large lattice communications mast still stands surrounded by a wire mesh fence; this appears to be completely unused. Although the bunker appears in good condition the army has no immediate use for it as it would cost too much money to bring it up to a safe usable condition. No further visits will be allowed.
Sources:
- Bob Jenner
- Keith Ward
- RCHME Survey Report - Cold War Project Survey Report Regional Government Headquarters 9.1 by Wayne Cocroft (RCHME/English Heritage)